
Turns out a number of you would like to see how I made those paper flowers on the garland in my last post. I was a little surprised at that, considering the underwhelming photo I used to show what I had done. But they do please me every day, so I am glad I “wasted” my Saturday afternoon. Today, however, I got victory over my bathroom cleaning before I sat down to show you how I did the flowers. You start with a book, obviously. Not too brittle in the pages, but oldish looking is best. Even better would be an old songbook. I tore out seven pages at a time, because I am efficient like that.

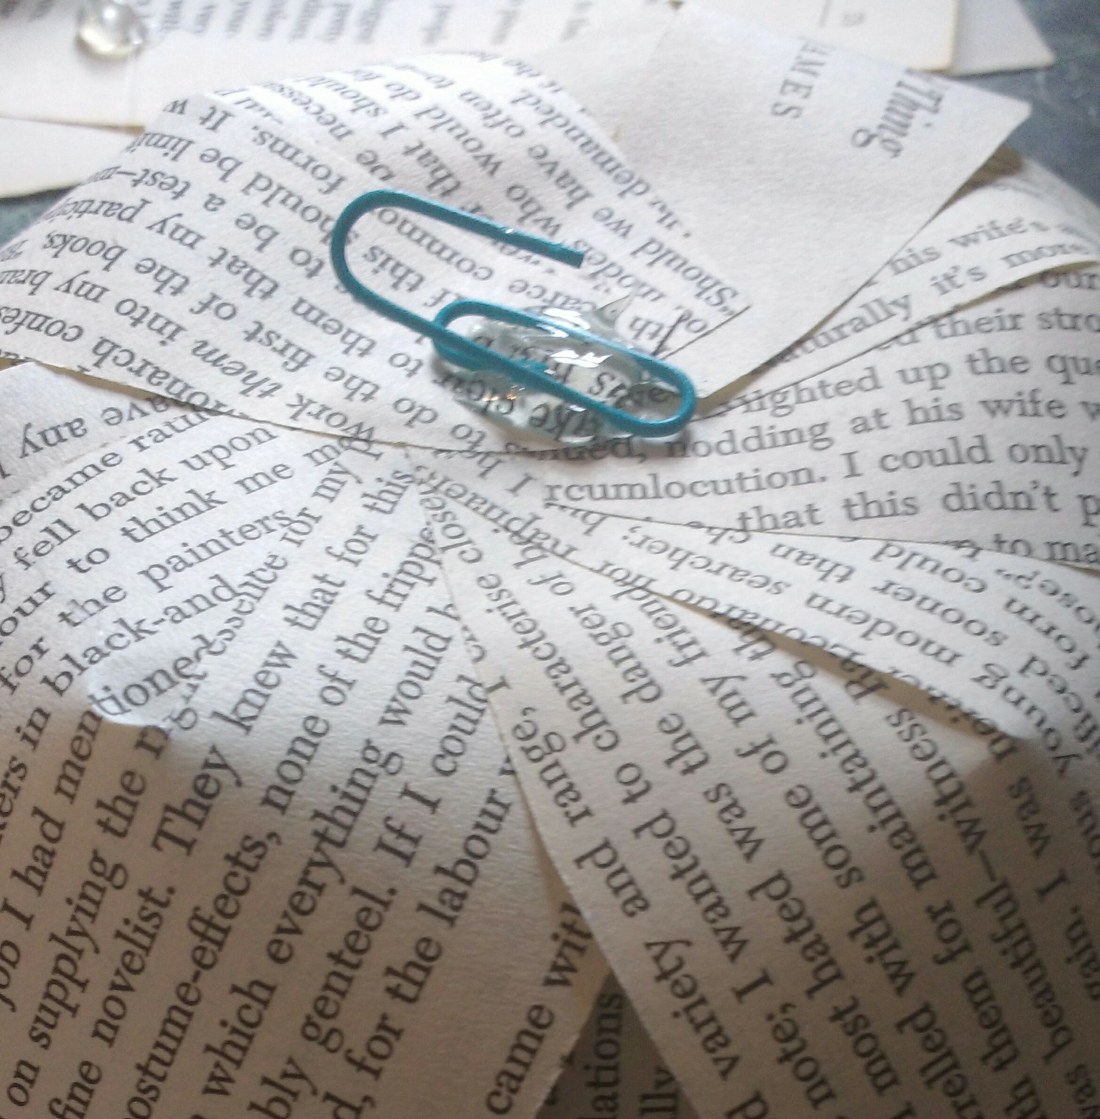
This spiral flower is what I started with last week, but it did not pop enough for my garland. The main problem was that my book pages were too small to make an exciting flower. So I set aside the ones I made and used them for the centers of the bigger, better flowers. I just freehanded this circle because templates are boring and too perfect.
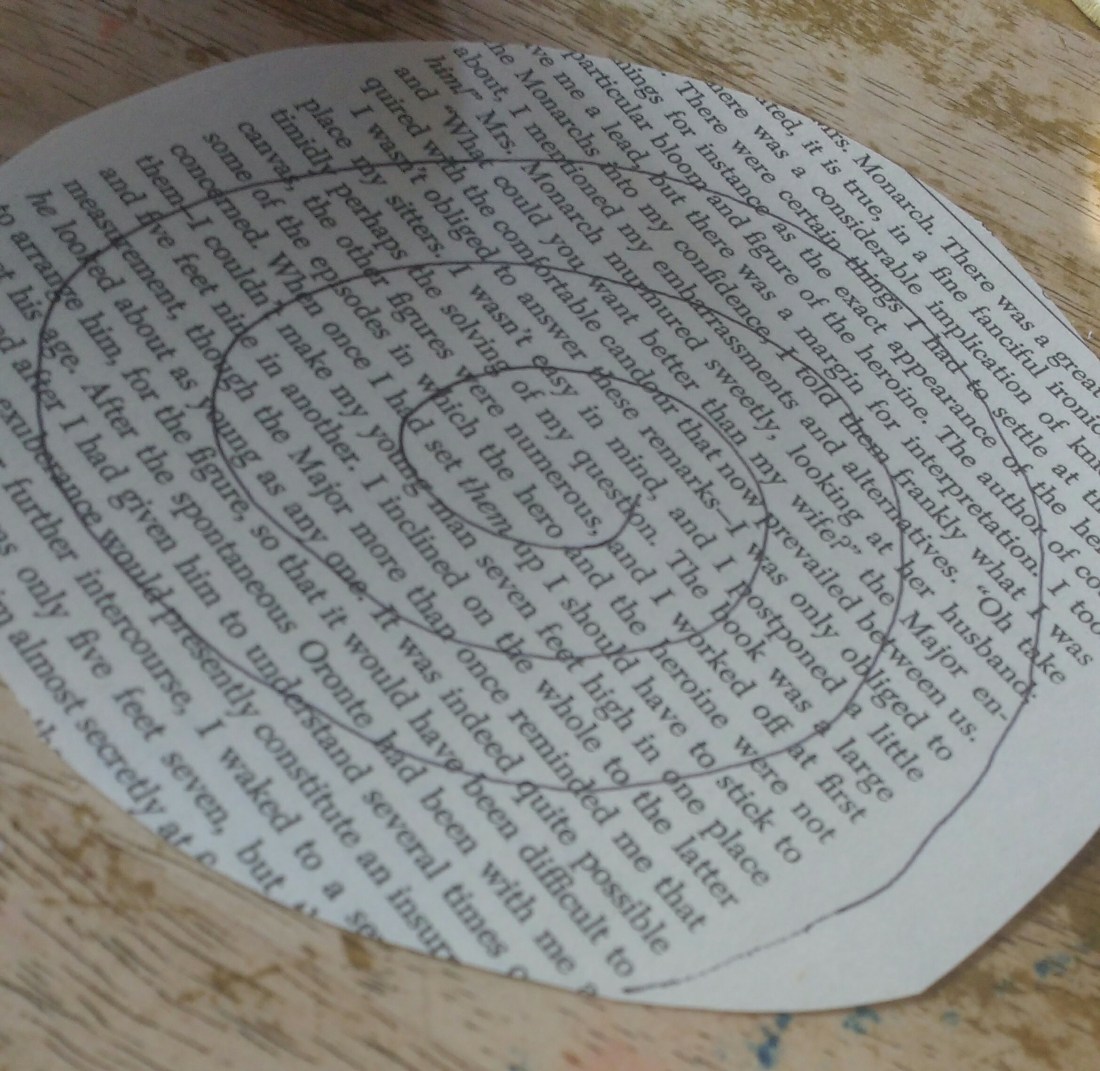

Starting at the end, you simply roll up the spiral between thumb and finger until you get to the center. You will want to have the hot glue ready to go, because those curls spin out on you (They are supposed to. Just not all the way back to the flat spiral.) and it helps to be able to squash them down onto the glue once you have the desired size. I rolled and rerolled my first few flowers until I got the hang of this step.


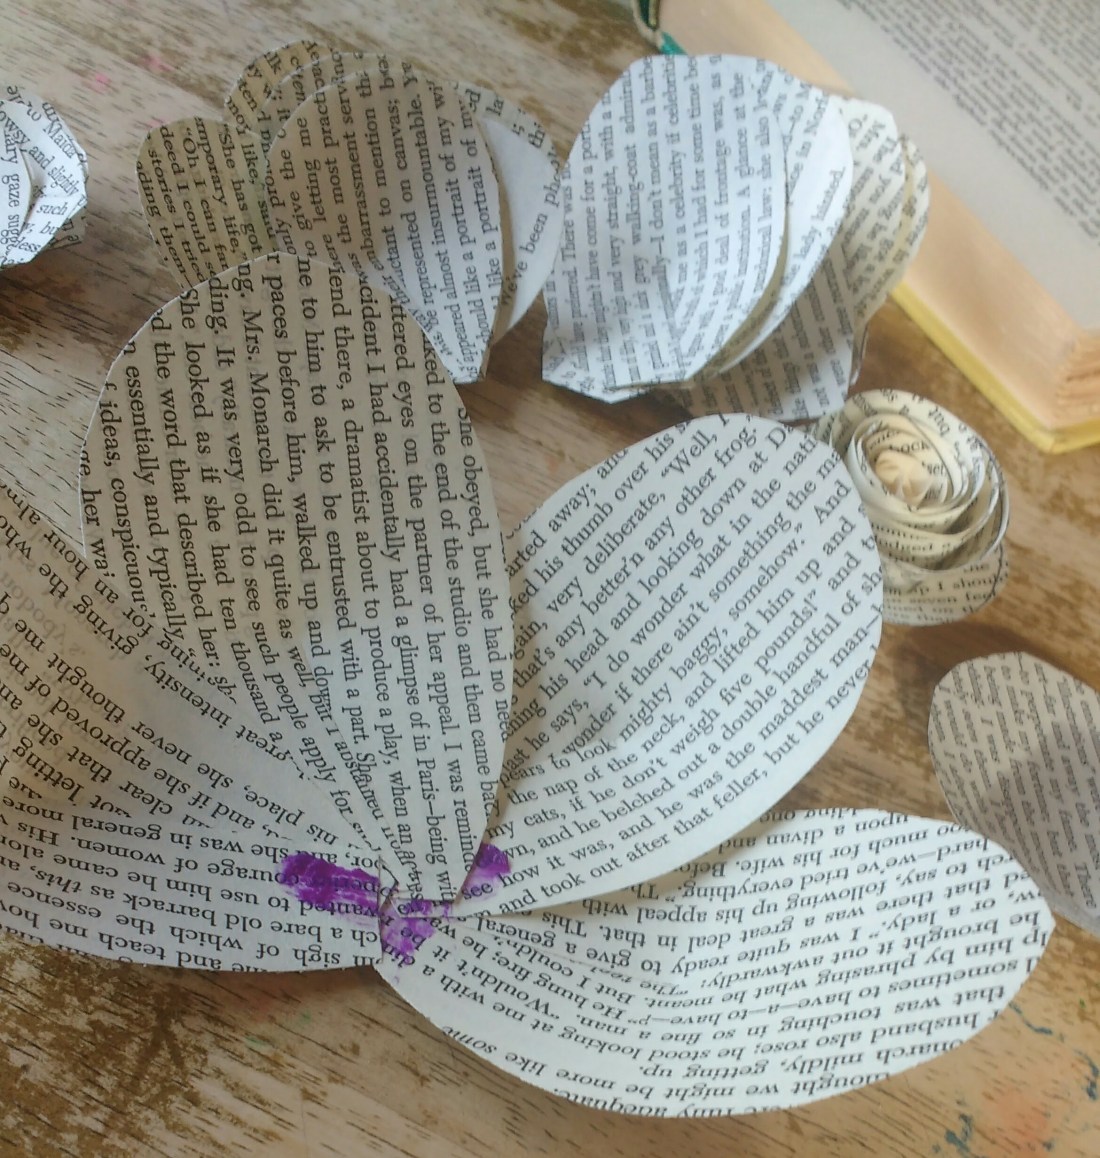
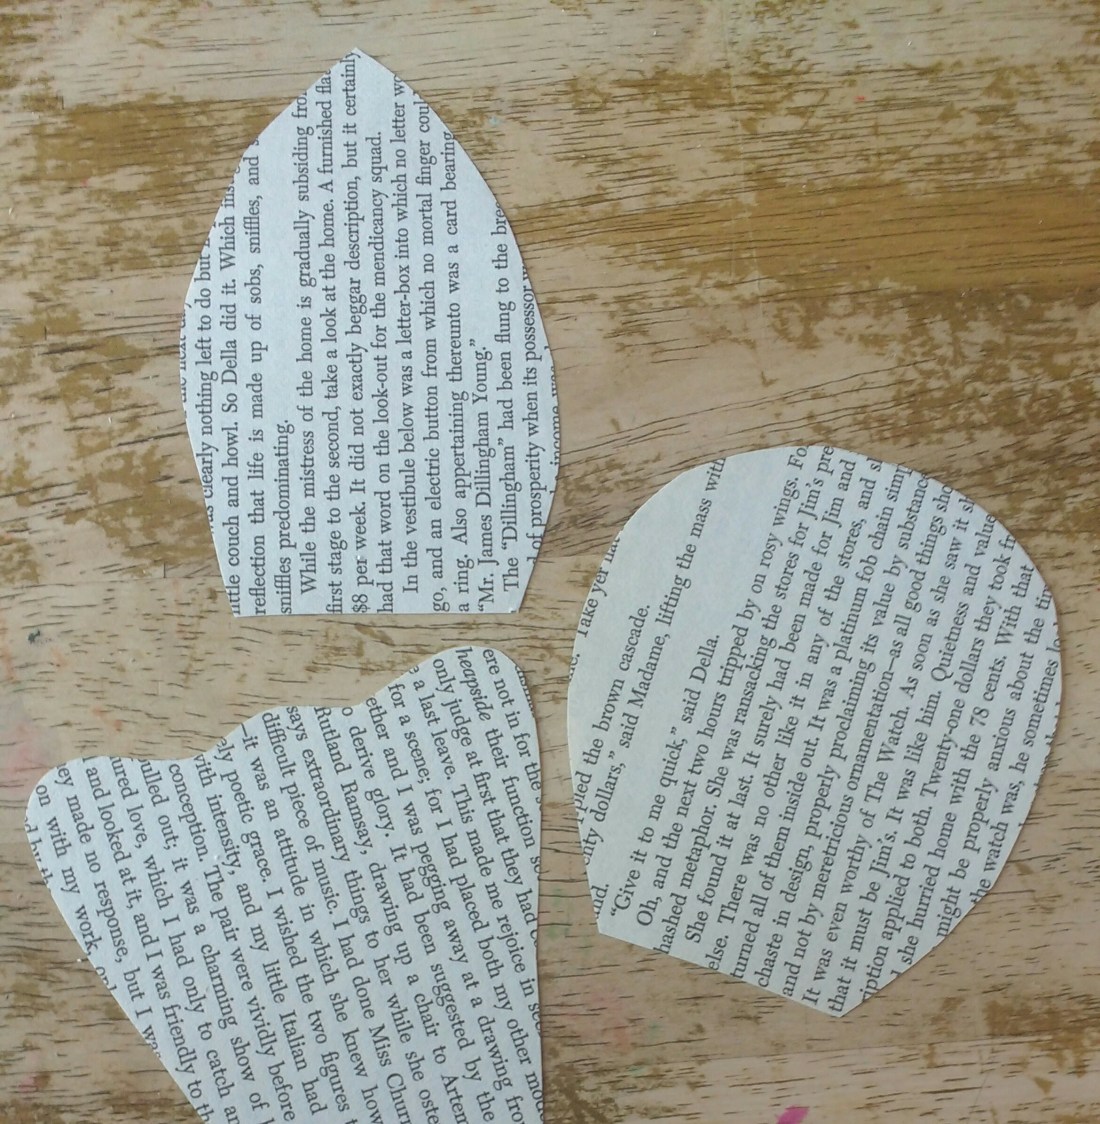
I drew my petals onto the page in graduated sizes because templates are boring. Wait. I already said that. But really, your finished product looks better if you have some variation, unless you want to get out a level and ruler when you are gluing the petals. See my stack of seven pages? Just cut them all at once; save yourself a lot of hassle. And be sure to cut inside the pen lines so you don’t see them on the flower edges.

The petals get a slit about halfway up through. And there sits the pretty little center, waiting. (Have you noticed my kitchen table yet? I keep planning half-heartedly to refinish it, but then I would have to hover when the children do projects, and now it is just so stress free. )
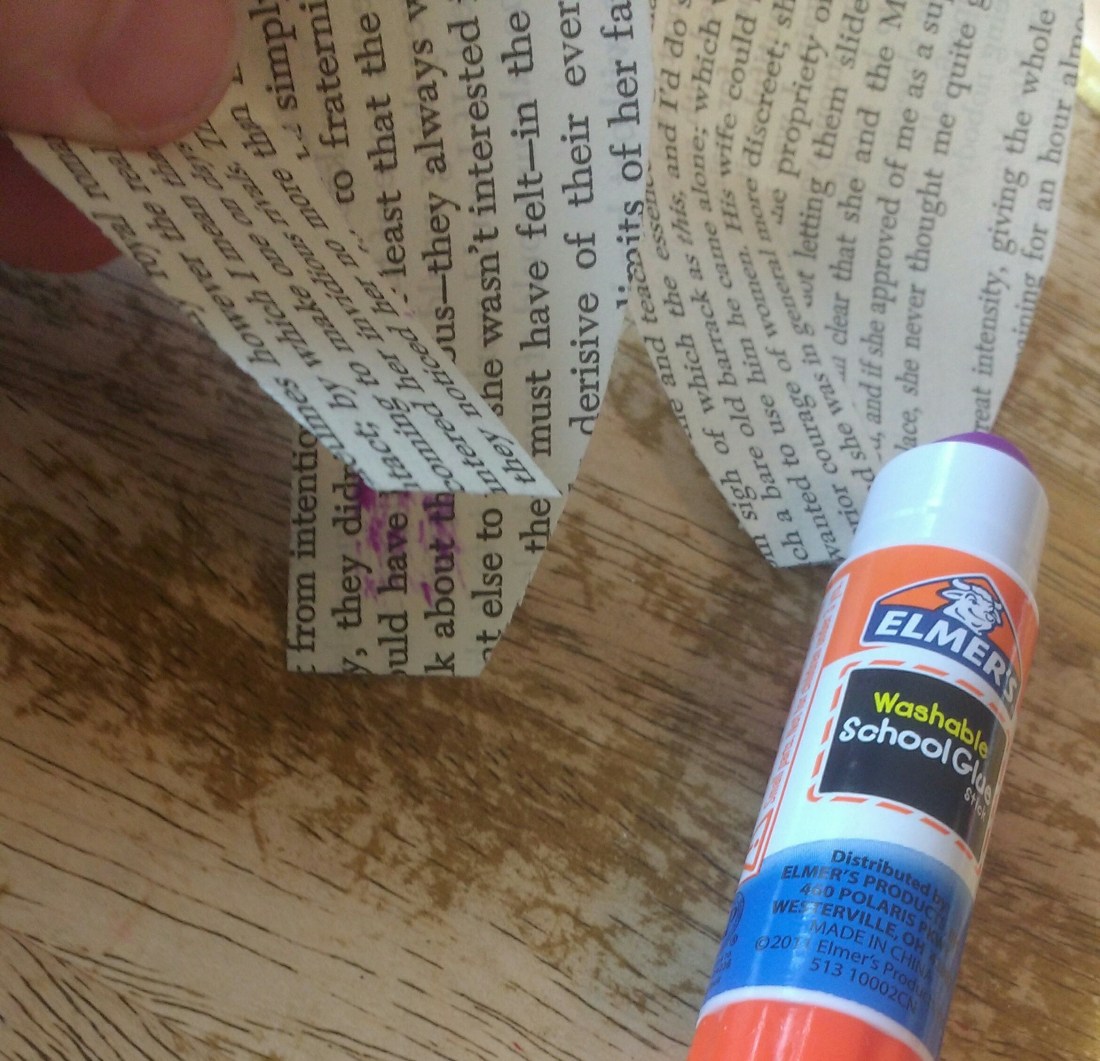
Those two photos show the way you use school glue to overlap the petals slightly where you cut the slit. I do not recommend hot glue at this step because fingertips are important, and hot glue has no respect. If you want your flowers for hanging on a garland or on the wall, do not curve them much at all or they will hang almost upside down. I started with seven petals on the outside row, then six in the others. There are no rules here. Some of our flowers only had four outside petals and a center.

The center does require hot glue to hold that much weight. For a garland, bend a paper clip and glue it to the center of the flower on the back. Use gross-grain (important… because the ribbed weave of gross-grain holds the flowers where you put them) ribbon to hang them by hooking the paper clip over it.
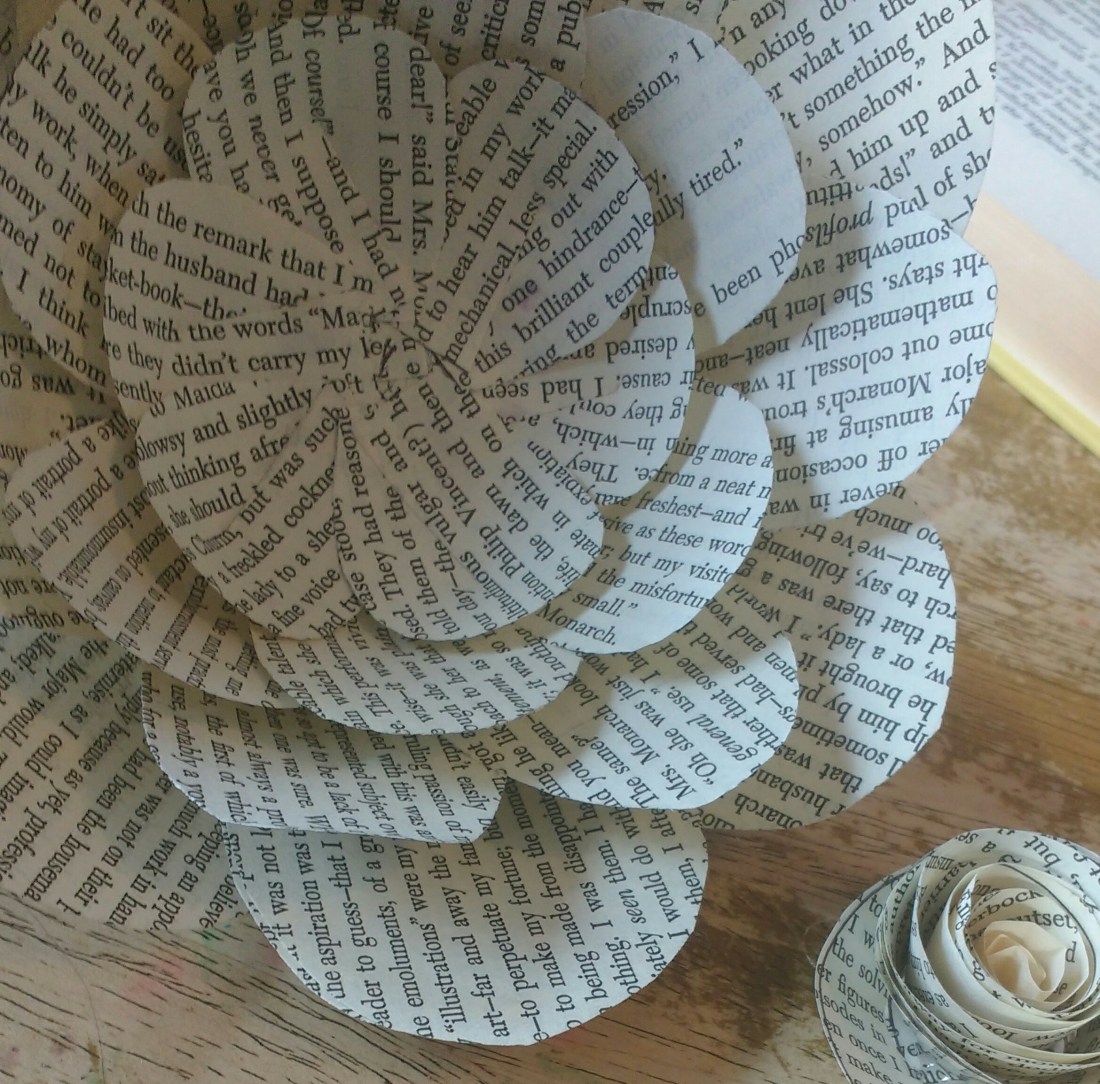
These are other petal shapes we tried. I think the oval is my favorite, but it does make the garland more pleasing to have some variety. Below is another way to finish out the flower in the middle. You roll up the frill, and glue it to the middle, then spread out the frill like stamens. The more we worked at it, the more ideas we got. I did a brief foray on pinterest, then decided to wing it. Olivia, however, saw a tutorial for making hyacinths. She took off on that on her own. You can see her contributions in the last photo.

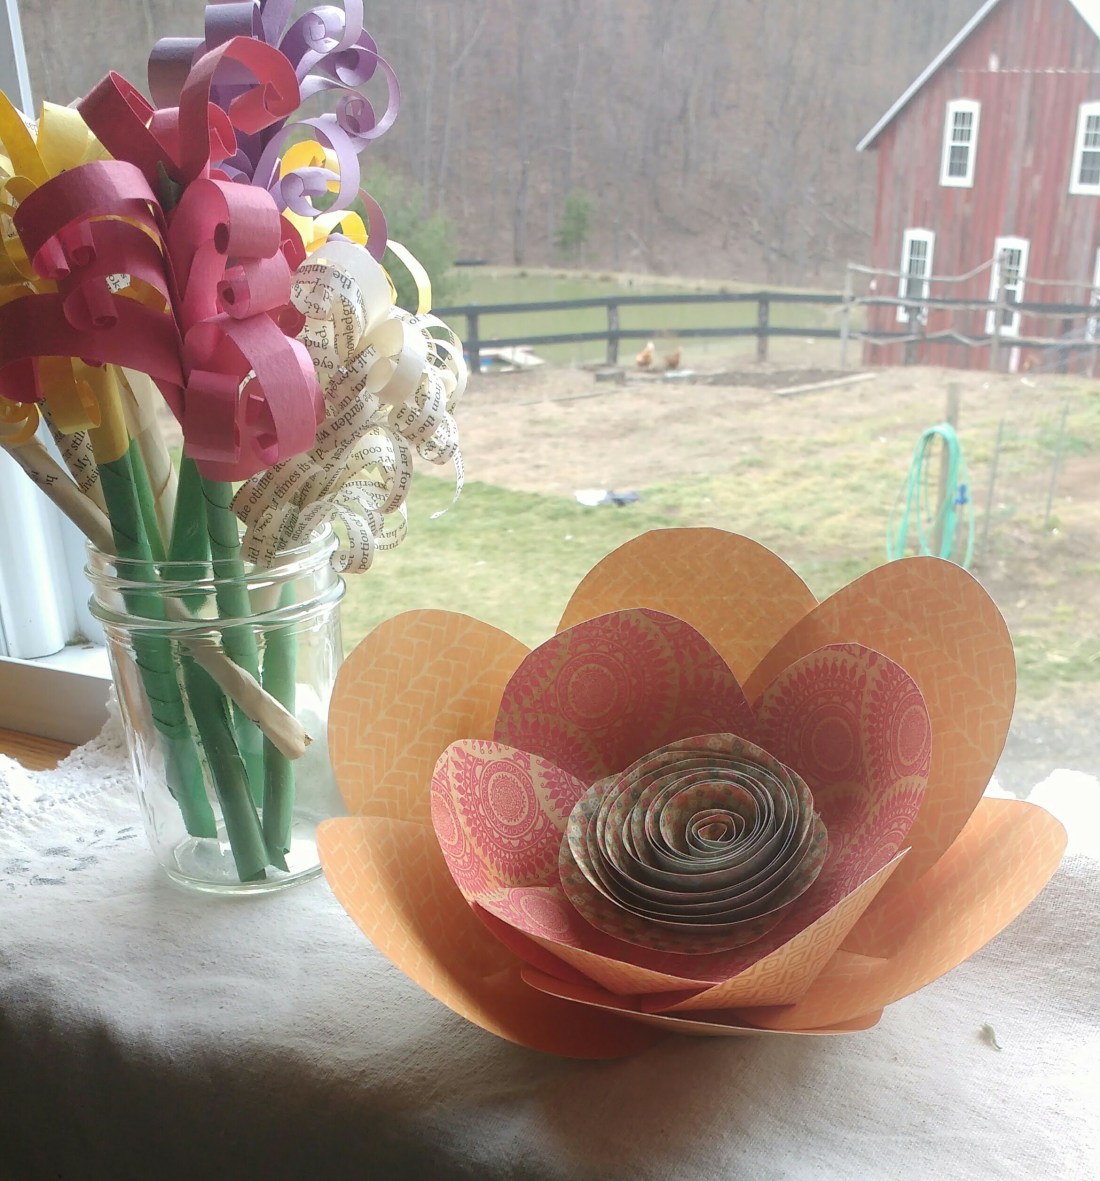
And that, my friends, is what happens when you use pretty colors and cup the petals so that they sit on a ledge like a… water lily?
Those are our happy chickens, freeranging like anything around the blueberry bushes. You can’t see them, but the children are down on the dock, fishing. Unsuccessfully, I might add. And that is also my garden, just waiting to dry out.
Soon there will be rows of real flowers and butterflies flitting.
(If you try this, let me know. Or I will never do another tutorial. Well, maybe I will. )

I did not try this. Just letting you know.
Though I will need to do so soon seeing as Cookie caught sight of that “beauuuutiful” last flower.
Thank you! I’m going to have fun!!! I’ve seen the spiral flower before and sometime soon I’m going to be making these flowers! Love the hyacinths…My girls love to make “tulips”.
Thank you, thank you! 😊
I probably will not try this. Not crafty. But I really love it, and if I WOULD try something, it would be this. 😉